The foundation of all experimental science and technology is measurement. The result obtained from any measurement will contain some uncertainty. Such an uncertainty is termed error. Any calculation made using the measured values will also have an error. It is not possible to make exact measurements in an experiment. In measurements, two different terms, accuracy and precision are used and need to be distinguished at this stage. Accuracy refers to how far we are from the true value, and precision refers to how well we measure.
Accuracy and Precision: Let us say, you know your true height is exactly 5′9′′. You first measure your height with a yardstick and get the value 5′0′′. Your measurement is hence not accurate. Now you measure your height with a laser yardstick and get 5′9′′ as the value. Now your measurement is accurate.
The true value is also called theoretical value. The level of accuracy required for each application varies greatly. Highly accurate data can be very difficult to produce and compile. For example, if you consistently measure your height as 5′0′′ with a yard stick, your measurements are precise. The level of precision required for different applications vary to a great extent. Engineering projects such as road and utility construction require very precise information measured to the millimeter or one-tenth of an inch.
(If a measurement is precise, that does not necessarily mean that it is accurate. However, if the measurement is consistently accurate, it is also precise.)
For example, if the temperature outside a building is 40∘C as measured by a weather thermometer and if the real outside temperature is 40∘C, the thermometer is accurate. If the thermometer consistently registers this exact temperature in a row, the thermometer is precise.
Consider another example. Let the temperature of a refrigerator repeatedly measured by a thermometer be given as 10.4∘C,10.2∘C,10.3∘C,10.1∘C,10.2∘C, 10.1∘C,10.1∘C,10.1∘C. However, if the real temperature inside the refrigerator is 9∘C, we say that the thermometer is not accurate (it is almost one degree off the true value), but since all the measured values are close to 10∘C, hence it is precise.
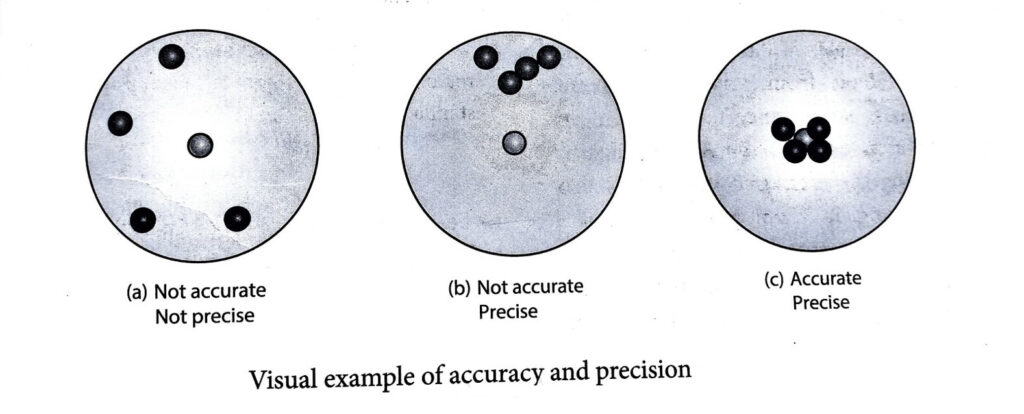
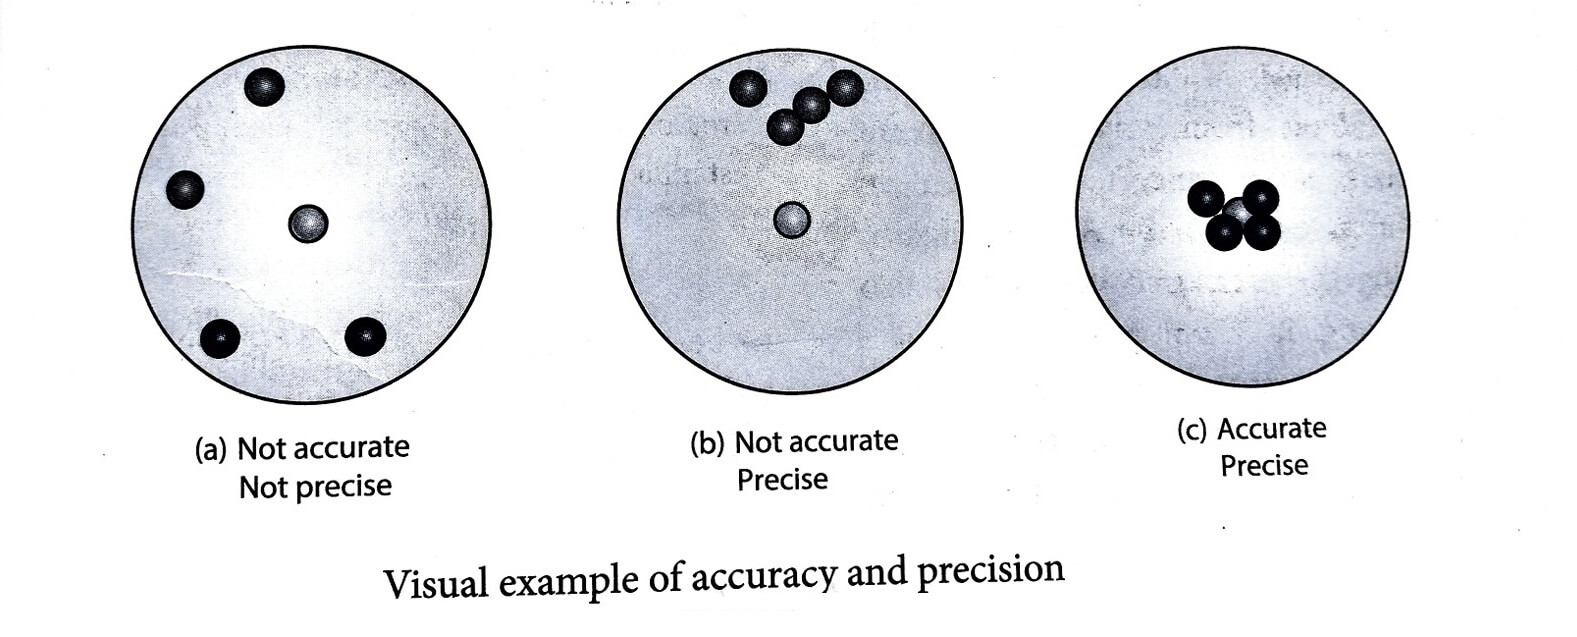
A Visual example: Target shooting is an example which explains the difference between accuracy and precision. In Figure (a), the shots are focused so as to reach the bull’s eye (midpoint), but the arrows have reached only around this point. Hence the shots are not accurate and also not precise.
In Figure (b), all the shots are close to each other but not at the central point. Hence the shots are said to be precise but not accurate. In Figure (c), the shots are closer and also at the central point. Hence the shots are both precise and accurate.

A numerical example
The true value of a certain length is nearly 5.678 cm In one experiment, using a measuring instrument of resolution 0.1 cm, the measured value is found to be 5.5 cm. In another experiment using a measuring instrument of greater resolution, say 0.01cm, the length is found to be 5.38 cm. We find that the first measurement is more accurate as it is closer to the true value, but it has lesser precision. On the contrary, the second measurement is less accurate, but it is more precise.
Errors in Measurement: The uncertainty in a measurement is called an error. Random error, systematic error and gross error are the three possible errors.
These errors arise due to the limitations in the experimental arrangement. As an example, while performing experiments with a calorimeter, if there is no proper insulation, there will be radiation losses. This results in errors and to overcome these, necessary correction has to be applied.
3. Personal errors: These errors are due to individuals performing the experiment, may be due to incorrect initial setting up of the experiment or carelessness of the individual making the observation due to improper precautions.
4. Errors due to external causes: The change in the external conditions during an experiment can cause error in measurement. For example, changes in temperature, humidity, or pressure during measurements may affect the result of the measurement.
5. Last count error: Least count is the smallest value that can be measured by the measuring instrument, and the error due to this measurement is least count error. The instrument’s resolution hence is the cause of this error. Least count error can be reduced by using a high precision instrument for the measurement.
(ii) Random errors: Random errors may arise due to random and unpredictable variations in experimental conditions like pressure, temperature, voltage supply etc. Errors may also be due to personal errors by the observer who performs the experiment. Random errors are sometimes called “chance error”.
When different readings are obtained by a person every time he repeats the experiment, personal error occurs. For example, consider the case of the thickness of a wire measured using a screw gauge. The readings taken may be different for different trials. In this case, a large number of measurements are made and then the arithmetic mean is taken.
If n number of trial readings are taken in an experiment, and the readings are a1 , a2 , a3,……………………an. The arithmetic mean is
or
![]()
Usually this arithmetic mean is taken as the best possible true value of the quantity.
Certain procedures to be followed to minimize experimental errors.
iii) Gross Error: The error caused due to the shear carelessness of an observer is called gross error.
For example
- Reading an instrument without setting it properly.
- Taking observations in a wrong manner without bothering about the sources of errors and the precautions.
- Recording wrong observations.
- Using wrong values of the observations in calculations.
These errors can be minimized only when an observer is careful and mentally alert.
| Read More Topics |
| Measurement of length |
| Mobility and conductivity in semiconductors |
| Charge densities in a semiconductor |


